Find yourself dreading the thought of removing your Gelous Gel Polish? Worry not. From handy tips to expert tricks, we’re here to seamlessly guide you through the whole process, step by step. We’ve got all the info you need for a quick and easy, hassle-free removal, all from the comfort of your own home. Let’s delve in!

Can I remove Gelous Gel Nail Polish without damaging my nails?
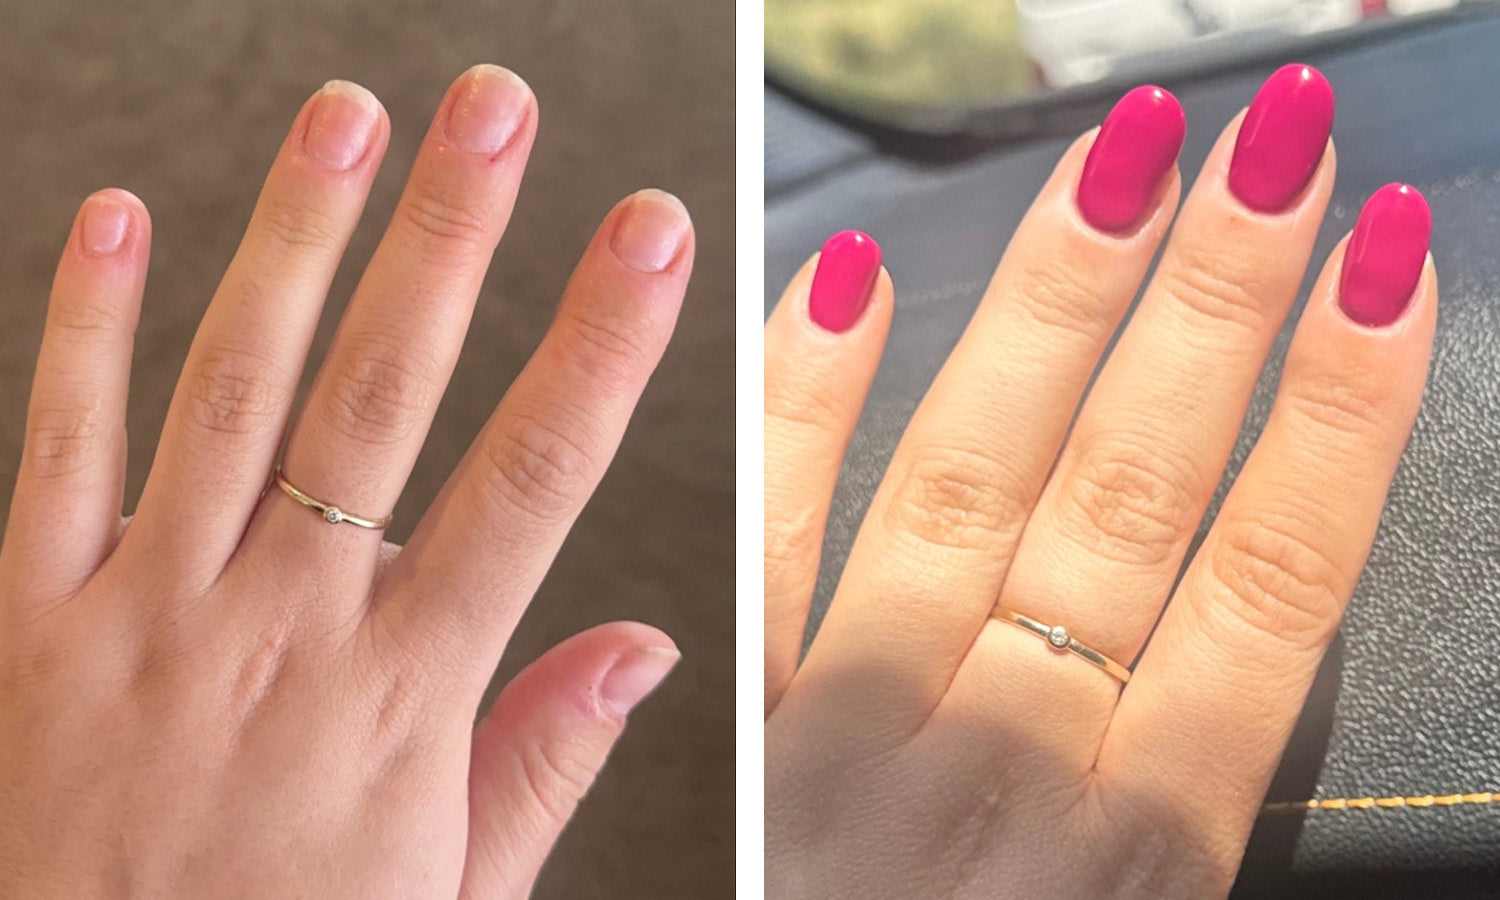
Rest assured, you can absolutely remove Gelous Gel Nail Polish without causing your nails any harm. We know the removal process isn't as rewarding as the application, however, it’s just as important! With that in mind, following our instructions closely is key to ensuring the process is safe and gentle. While picking at your Gel Nail Polish may seem like an easy option, this will inevitably peel away part of your natural nails, leaving them thin, weak, and uneven. For a strong, damage-free removal, take care to avoid any such peeling, and make sure you follow our simple recommendations.
What tools do I need to remove a Gelous gel manicure?
Your gel manicure removal essentials are a 100/180 Grit Nail File, Lint Free Wipes, Manicure Removal Clips, Orangewood Cuticle Sticks and an acetone-based Nail Polish Remover. Tools can make a huge difference in your removal process, and their significance shouldn’t be dismissed. Our Nail Files are relatively hard-wearing but it's crucial that it isn’t too worn down, we recommend replacing your Nail File every three months or so if you’re a regular user. If not, the buffing process will take much longer, and you run the risk of damaging your nails.
How do I remove Gelous Gel Nail Polish at home?
Buffing off the Top Coat
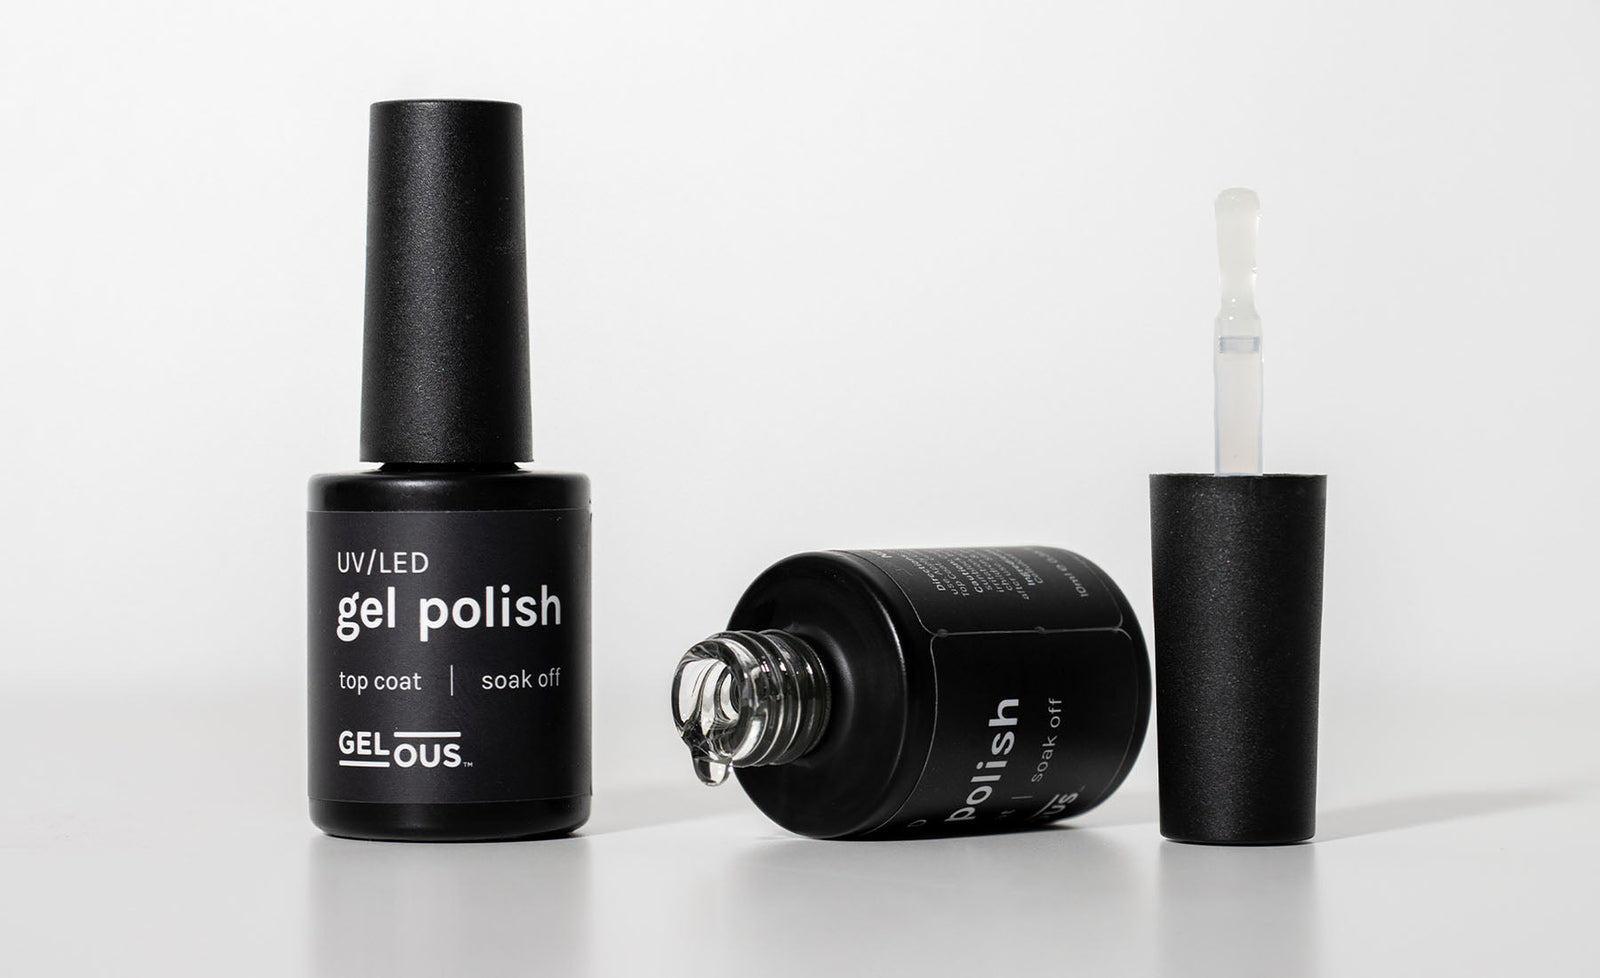
Using the coarse 100-grit side of the Gelous Nail File, gently buff away the shiny Top Coat, remembering to get down the sides of your nails as these areas can often be overlooked. If you've previously applied several layers, you can file slightly beyond the Top Coat into the Colour Coats, this will help to reduce your soak time and allow the Remover to penetrate each layer a bit easier. Just be gentle with this, you must take special care to not file all the way down to the nail.
Option 1: Soaking off your Gel Nail Polish
Begin by soaking a Lint Free Wipe in Nail Polish Remover, before folding it into a square. This not only allows the wipe to hold onto more liquid, but also helps to prevent the Nail Polish Remover from touching too much of your skin. You can speed up this process by soaking all ten fingers simultaneously. Taking your Manicure Removal Clips, start by clipping a moistened Lint Free Wipe to the pinky, ring, and middle finger of each hand. Then, move to the index fingers and lastly, the thumbs. If you're having trouble clipping the Manicure Removal Clips on your thumbs, we suggest doing one hand at a time or alternatively asking someone for a helping hand. After clipping, you should press down to keep the seal airtight and leave to soak for between 10-20 minutes, depending on how thick you applied the Gel Nail Polish.
Pushing away the Gel Nail Polish
Once the recommended time has passed, your Gel Nail Polish should have partially lifted and will come off fairly easily with a gentle push of an Orangewood Cuticle Stick. Push in the direction your nail grows, from cuticle to tip, taking care to avoid pressing into the nail. Any stubborn bits of Gel Nail Polish that don’t lift straight off can be lightly buffed away using the fine (180-grit) side of the Gelous Nail File. If you're finding it difficult to remove the Gel Nail Polish, you may need to resoak your nails for a second time. This could be down to not buffing sufficiently the first time around, not having enough Nail Polish Remover on, the Nail Polish Remover drying out, or not having left it on for long enough. An important tip to keep in mind, if you have previously applied Builder Gel, you do not need to completely remove this during each removal process. Simply give your nails a gentle buff using the fine (180-grit) side of the Gelous Nail File to create a smooth and even surface for your next manicure.
Nourishing your nails
Once you've completed the removal, give your hands a good wash, then treat them to a nourishing Cuticle Oil and high-quality Hand Cream. This step is critical for replenishing moisture after the drying effects of buffing and acetone.
Can I re-apply Gelous Gel Nail Polish immediately after my Gel Nail Polish removal?
If you’re planning to reapply straight after removal, hold out on applying Cuticle Oil or Hand Cream until you’ve finished your new manicure. Follow all the instructions outlined in How to Apply Gelous Gel Nail Polish, however take care to only softly buff your nails with the Nail File during prep. If you notice your nails feel sensitive, it’s a good idea to wait 1-2 weeks before the next application. During this time, focus on strengthening and nourishing both your hands and nails using our Cuticle Oil and Hand Cream.