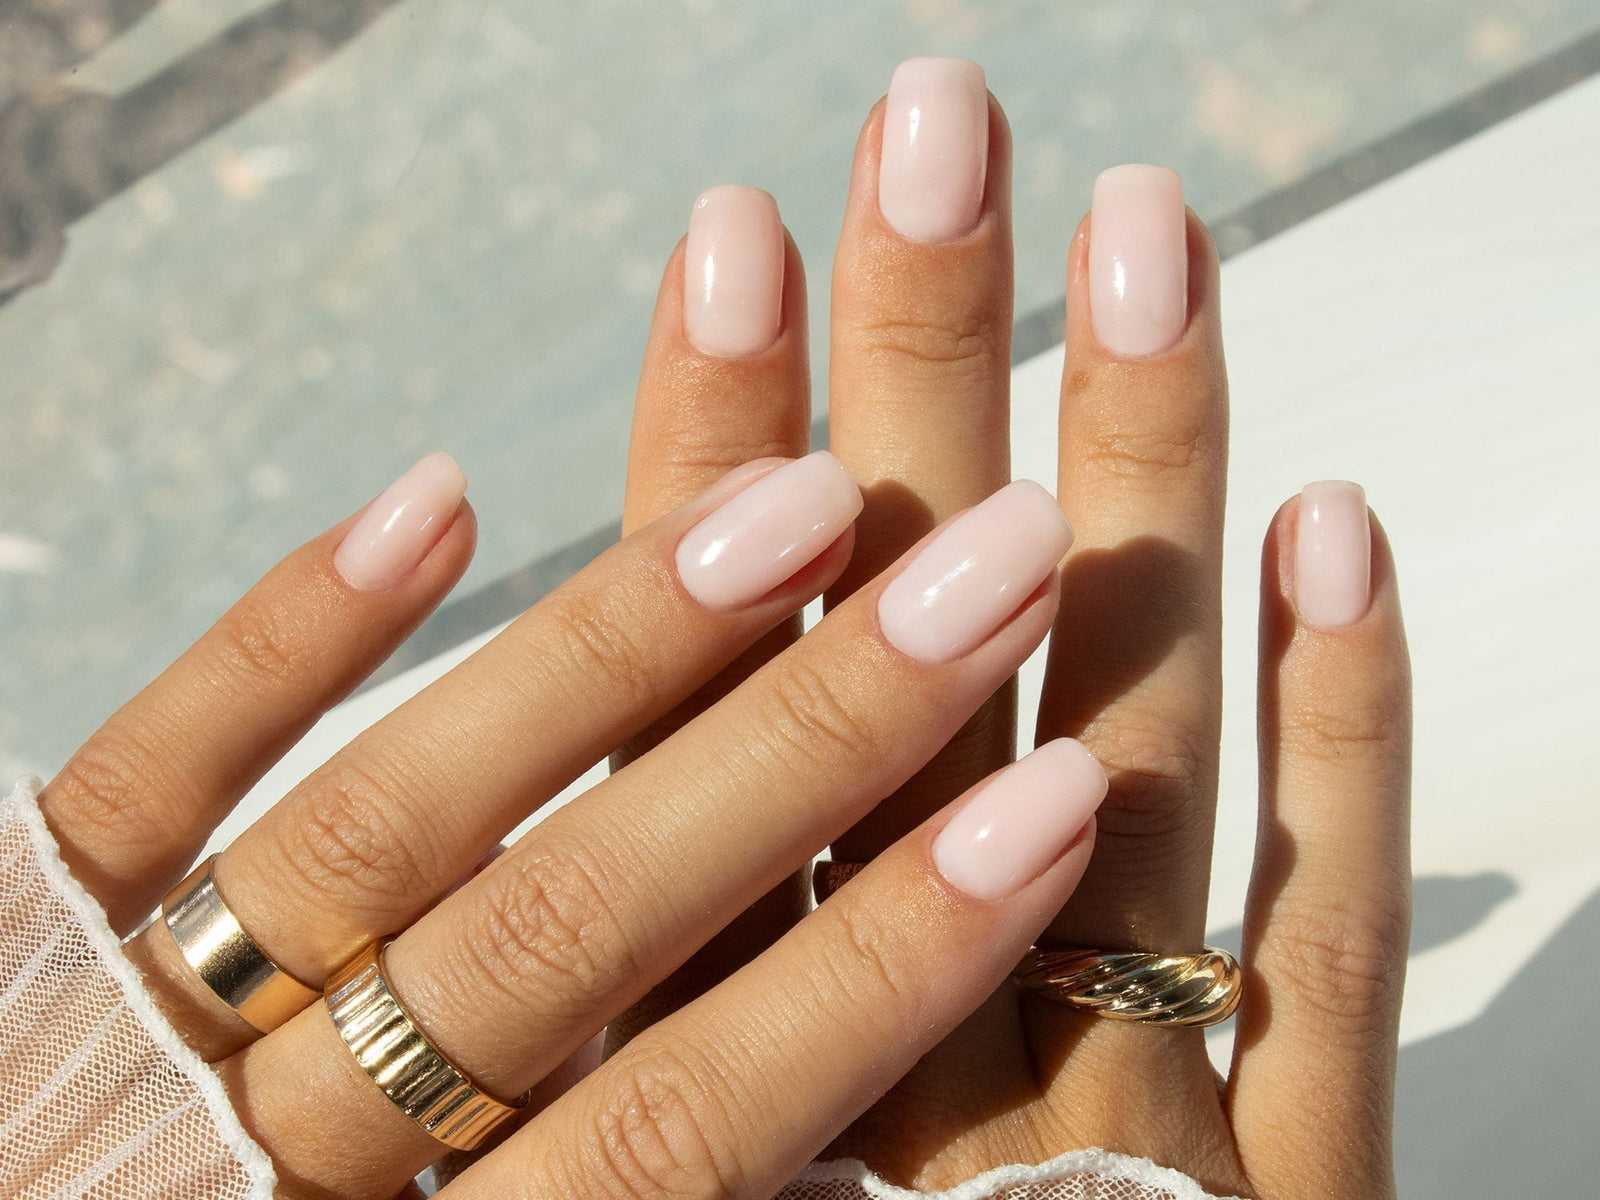
Taking some time for you is always important, so what better way to highlight the beauty in yourself than with a feminine manicure. We've got hearts, pink and and some Gel Nail Polish designs that are a little more subtle. Follow along and radiate self-love from your fingertips - whatever your relationship status.
Zebra & French Tip Gel Nail Polish Design
Get a little wild with our feminine, Zebra Print and French Tip nail art. Watch our YouTube tutorial here or follow along using the instructions below.
Gel Nail Polish used: Base Coat, Just White, Very Berry & Top Coat.
Gel Nail Art Brushes used: Detail Brush.
- Complete your nail prep.
- Apply a thin coat of Base Coat & cap the free edge. Cure under your Gel Nail Lamp for 60 seconds.
- To create your freehand French Tip, start by using your Detail Brush & Very Berry to mark the center point of the bottom edge of your tip colour.
- Slowly paint a curve towards the edge of your nail & fill in the first half.
- Repeat this on the opposite side, then tidy up. Cure under your Gel Nail Lamp for 30 seconds.
- If needed, you can apply another coat using the same technique. Cure again under your Gel nail Lamp for 30 seconds.
- Apply a thin coat of Top Coat & cap the free edge. Cure under your Gel Nail Lamp for 60 seconds.
- To create your Zebra print, start by applying a thin coat of Just White & cap the free edge. Cure under your Gel Nail Lamp for 60 seconds.
- Use your Detail Brush & Very Berry to draw staggered, uneven lines that vary in thickness to create a Zebra print pattern.
- Join some of the lines to create sideways ‘V’ shapes.
- When you are happy with the end result, cure under your Gel Nail Lamp for 30 seconds.
- Apply a thin coat of Top Coat & cap the free edge. Cure under your Gel Nail Lamp for 60 seconds.
- Apply Cuticle Oil around your nails & rub into your skin to nourish & moisturise.
Layered Heart Gel Nail Polish Design
Radiate love with the beautiful layered heart nail art. Watch our YouTube tutorial here or follow along using the instructions below.
Gel Nail Polish used: Base Coat, That's the Clay It Is, Stuck in the Mud, Au Naturel, Dirtbag & Top Coat.
Gel Nail Art Brushes used: Detail Brush.
- Complete your nail prep.
- Apply a thin coat of Base Coat & cap the free edge. Cure under your Gel Nail Lamp for 60 seconds.
- Use your Detail Brush & Au Naturel to paint two dots. Draw a line diagonally from each dot, meeting in the middle to create a heart shape. Fill in any gaps, then cure under your Gel Nail Lamp for 30 seconds.
- Clean your Detail Brush with Nail Polish Remover between each colour.
- Use your clean Detail Brush & Stuck in the Mud to paint a border around the first heart. Cure under your Gel Nail Lamp for 10 seconds.
- Use your clean Detail Brush & That’s the Clay It Is to paint a border around the second heart. Cure under your Gel Nail Lamp for 10 seconds.
- Use your clean Detail Brush & Dirtbag to paint a border around the third heart. Cure under your Gel Nail Lamp for 10 seconds.
- Repeat this process, until there is only a small gap left between the design & the edge of your nail plate. You want to keep this gap so that gel polish does not touch your cuticle area, which prevents lifting.
- Apply a thin coat of Top Coat & cap the free edge. Cure under your Gel Nail Lamp for 60 seconds.
- Apply Cuticle Oil around your nails & rub into your skin to nourish & moisturise.
Blue Butterflies Gel Nail Polish Design
Step out of your cocoon with this nostalgic butterfly design. Watch our YouTube tutorial here or follow along using the instructions below.
Gel Nail Polish used: Base Coat, Blue Jean Baby, Black Out, Just White & Top Coat.
Gel Nail Art Brushes used: Small Striping Brush & Dotting Tool.
- Complete your nail prep.
- Apply a thin coat of Base Coat & cap the free edge. Cure under your Gel Nail Lamp for 60 seconds.
- Use your Small Striping Brush & Blue Jean Baby to paint the large, top wing of your butterfly, starting halfway between the side & the center of your nail.
- Fill in the large butterfly wing with Blue Jean Baby.
- Below this, paint a small bottom wing in the shape of an angled teardrop & fill in.
- Paint the second large butterfly wing close to the side of your nail. Leave space between your nail & cuticle to avoid lifting.
- Below this, paint your second small wing in the shape of an angled teardrop & fill in. Cure under your Gel Nail Lamp for 30 seconds.
- With your clean Small Striping Brush & Black Out, outline the butterfly slowly & thinly.
- Paint the large top wing & small bottom wing corners thicker.
- Create the inner detail of your first large butterfly wing by painting a thin, curved line through the center of the wing.
- Paint small, thin lines from the edge to the center line.
- Repeat the inner detail for your second large butterfly wing.
- Repeat the inner detail for your small butterfly wings. Cure under your Gel Nail Lamp for 30 seconds.
- With your Dotting Tool, paint two dots for the antennae. Join them to the center of your Butterfly using your Small Striping Brush. Cure under your Gel Nail Lamp for 10 seconds.
- Use your clean Dotting Tool & Just White, to paint small dots on the inside of the thick corners of the wings. Cure under your Gel Nail Lamp for 10 seconds.
- Apply a thin coat of Top Coat & cap the free edge. Cure under your Gel Nail Lamp for 60 seconds.
- Apply Cuticle Oil around your nails & rub into your skin to nourish & moisturise.
Tortoiseshell Gel Nail Polish Design
A design that encourages imperfection and looks good with absolutely everything - the classic tortoiseshell. Watch our YouTube tutorial here or follow along using the instructions below.
Gel Nail Polish used: Base Coat, Rich Mahogany, Colonel Mustard, Dirtbag, Black Out & Top Coat.
Gel Nail Art Brushes used: Large Flat Brush.
- Complete your nail prep.
- Apply a thin coat of Base Coat & cap the free edge. Cure under your Gel Nail Lamp for 60 seconds.
- Mix an even amount of Rich Mahogany & Colonel Mustard together to create your custom base colour.
- With your Large Flat Brush, apply a thin layer of your base colour & cap the free edge. Cure under your Gel Nail Lamp for 60 seconds.
- Apply a thin coat of Base Coat. Do not cure.
- With your clean Large Flat Brush & Dirtbag, apply random dots to create your tortoise look.
- The uncured Base Coat will create a watercolour-like effect. When you are happy with the placement, cure under your Gel Nail Lamp for 30 seconds.
- Apply another thin coat of Base Coat. Do not cure.
- With your clean Large Flat Brush & your custom base colour, dab a light coat over areas you feel need darkening. Cure under your Gel Nail Lamp for 30 seconds.
- With your clean Large Flat Brush & Black Out, apply dots over the top of your Dirtbag dots. Cure under your Gel Nail Lamp for 30 seconds.
- Apply another thin coat of Base Coat. Do not cure.
- Use your clean Large Flat Brush & Dirtbag to dot over any areas of Black Out you feel are too dark or need softening. Cure under your Gel Nail Lamp for 30 seconds.
- Apply a thin coat of Top Coat & cap the free edge. Cure under your Gel Nail Lamp for 60 seconds.
- Apply Cuticle Oil around your nails & rub into your skin to nourish & moisturise.
Made of Magic Gel Nail Polish Design
Create some magic on your fingertips with this eye-catching design of glittering hearts and stars. Watch our YouTube tutorial here or follow along using the instructions below.
Gel Nail Polish used: Base Coat, Grape Jelly, Fine Glitter, Chin Up Buttercup, Just White & Top Coat.
Gel Nail Art brushes used: Detail Brush & Dotting Tool.
- Complete your nail prep.
- Apply a thin coat of Base Coat & cap the free edge. Cure under your Gel Nail Lamp for 60 seconds.
- Use your Dotting Tool & Grape Jelly to paint two dots. Draw a line diagonally from each dot, meeting in the middle to create a heart shape. Fill in any gaps, then cure under your Gel Nail Lamp for 30 seconds.
- Repeat this step to paint as many hearts as you wish. Cure for 30 seconds.
- For your first nail design, use your Detail Brush to apply Fine Glitter around the hearts.
- For your second nail design, use your Dotting Tool to apply a generous dot of Chin Up Buttercup. Use your clean Detail Brush to gently paint a line from the dot upwards, downwards, left then right, keeping the left & right lines shorter. Cure both designs for 30 seconds under your Gel Nail Lamp.
- Use your Dotting Tool & Chin Up Buttercup to create dots around the stars. Cure under your Gel Nail Lamp for 10 seconds.
- Use your Detail Brush, to apply more Fine Glitter around the hearts & stars. Cure under your Gel Nail Lamp for 30 seconds.
- Apply a thin coat of Top Coat & cap the free edge. Cure under your Gel Nail Lamp for 60 seconds.
- Apply Cuticle Oil around your nails & rub into your skin to nourish & moisturise.
Cherry on Top Gel Nail Polish Design
This sweet cherry design is the perfect topping for your nails. Watch our YouTube tutorial here or follow along using the instructions below.
Gel Nail Polish used: Base Coat, Red Sass, Green With Envy, Just White& Top Coat.
Gel Nail Art Brushes used: Small Detail Brush & Dotting Tool.
- Complete your nail prep.
- Apply Base Coat & cap the free edge. Cure under your Gel Nail Lamp for 60 seconds.
- Using your Dotting Tool & Red Sass, apply two dots for the cherries. If your nail is large enough, you can add another two dots for a second set of cherries. Cure under your Gel Nail Lamp for 10 seconds.
- Using your Small Striping Brush & Green With Envy, paint an angled stem from one cherry.
- Paint a thinner stem from the other cherry to connect the two. Cure under your Gel Nail Lamp for 10 seconds.
- With your clean Dotting Tool & Just White, paint small reflection dots on the top corner of the cherries. Cure under your Gel Nail Lamp for 10 seconds.
- Apply Top Coat & cap the free edge. Cure under your Gel Nail Lamp for 60 seconds.
- Apply Cuticle Oil around your nails & rub into your skin to nourish & moisturise.


