Velvet nails are having a serious moment, and for good reason. This magnetic gel polish creates a stunning, velvet-like shimmer that catches the light from every angle, adding depth, dimension, sparkle and a whole lot of cute. But what exactly is Velvet Gel Polish, how do you get the look at home, and what are the best shades and designs to try? We’ve got you covered.
What is Velvet Gel Polish and Why Is It Trending?
Velvet Gel Polish contains fine magnetic pigments that shift and move when a special Velvet Nail Magnet is held over the polish before curing it. This creates a soft, shimmering effect reminiscent of velvet fabric: plush, rich, and totally luxe. The shimmer isn’t static; it moves and dances with every move of your nails, making it perfect for anyone who loves nails with drama.
Thanks to its eye-catching finish and versatility, velvet nails have quickly become a top trend in at-home manicures. Plus, it’s easier than you think to master with Gelous.
How to Use Velvet Gel Polish: Step-by-Step Guide
Here’s a simple breakdown to help you nail the velvet look perfectly.
What you’ll need:
- Gelous Base Coat
- Gelous Velvet Gel Polish of your choice
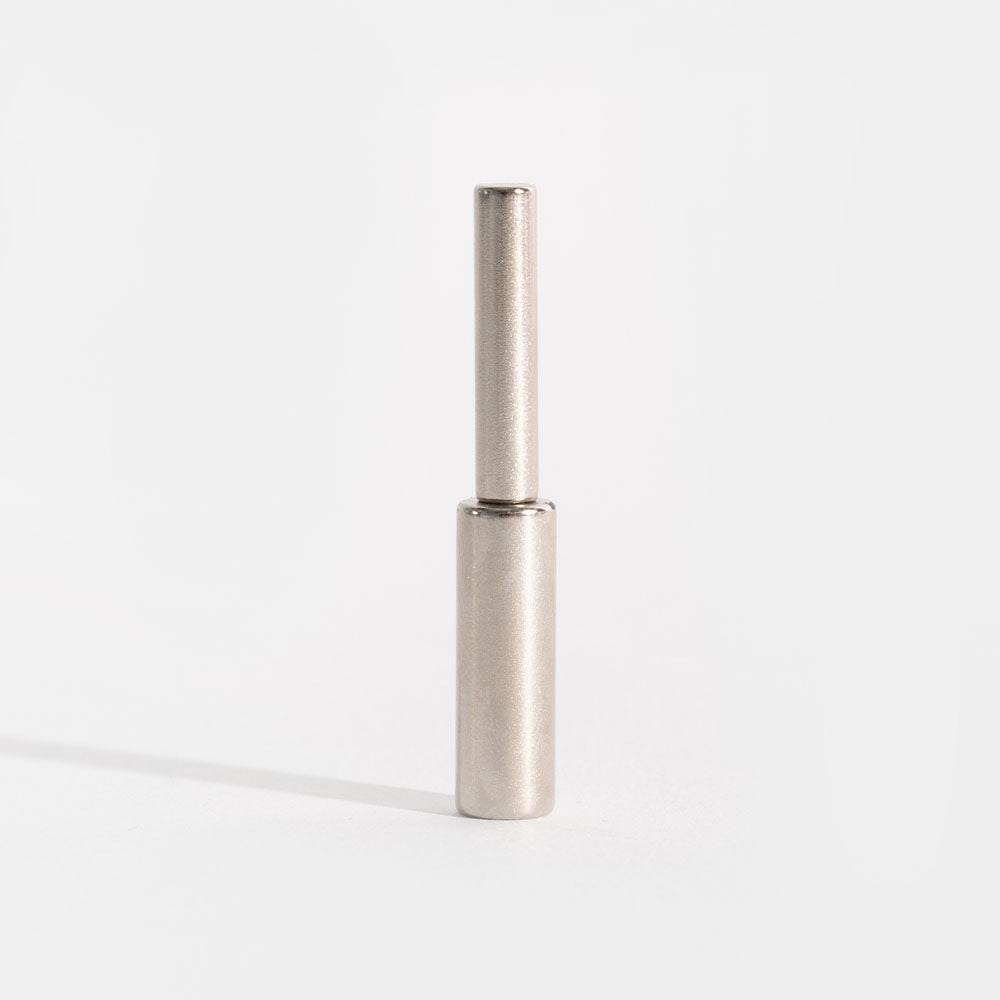
- Strong Velvet Magnets (2 pack)
- Gelous Top Coat
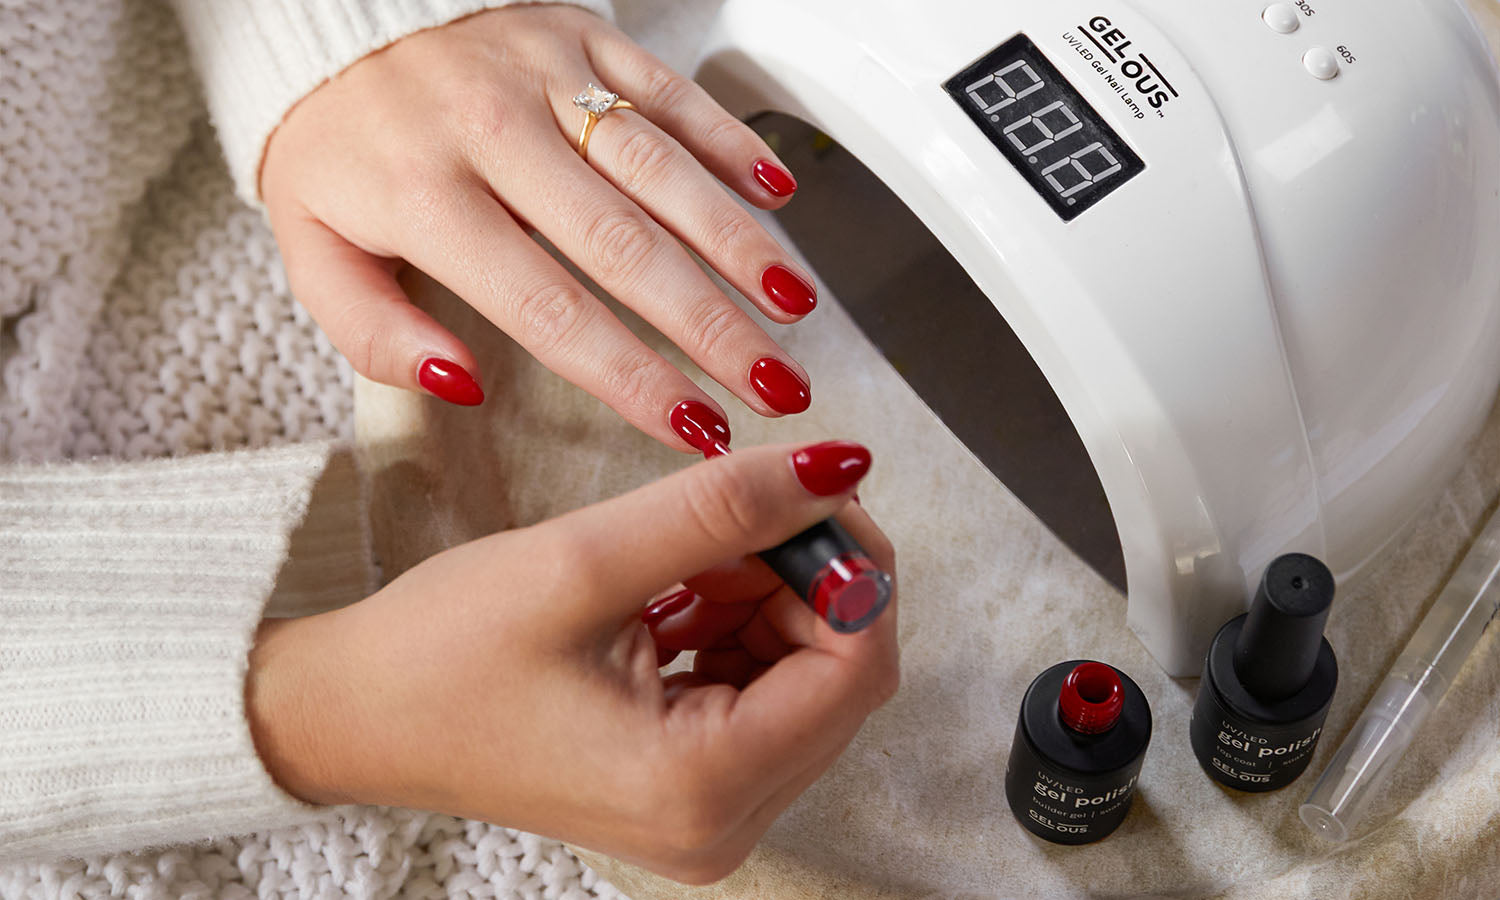
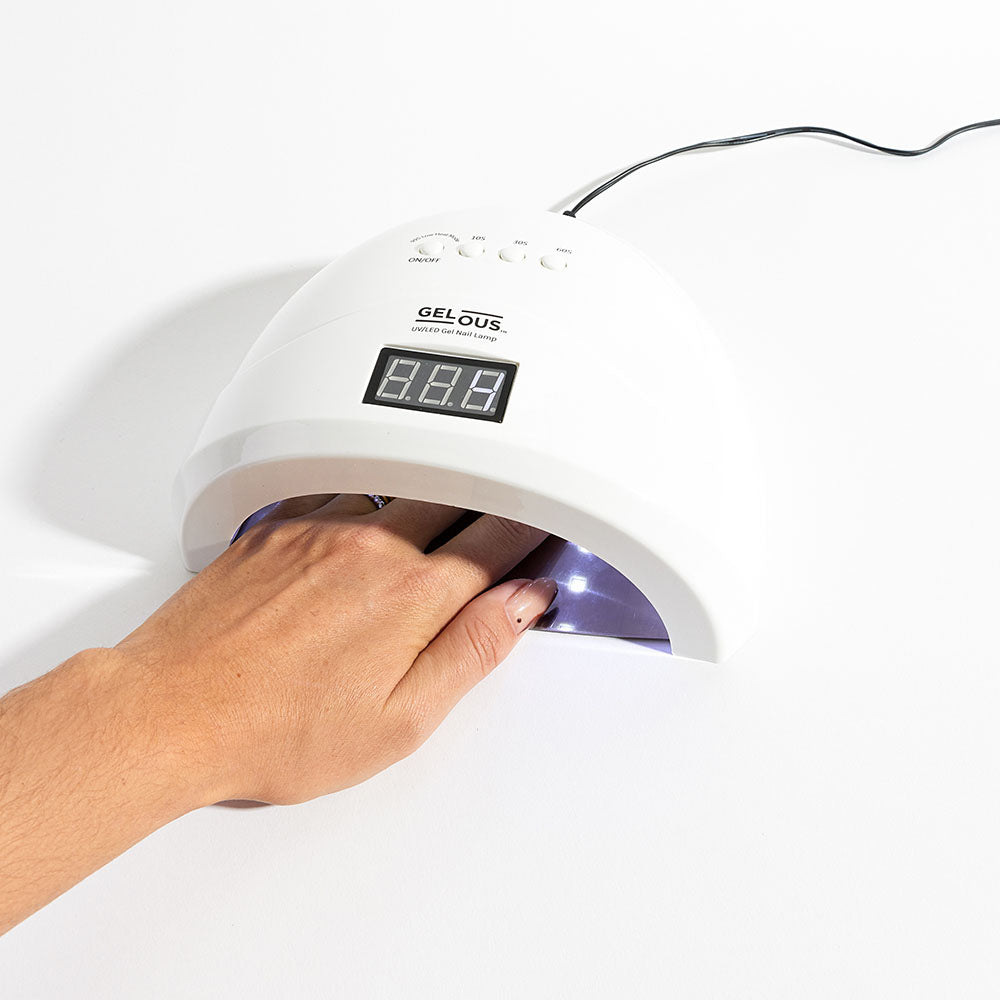
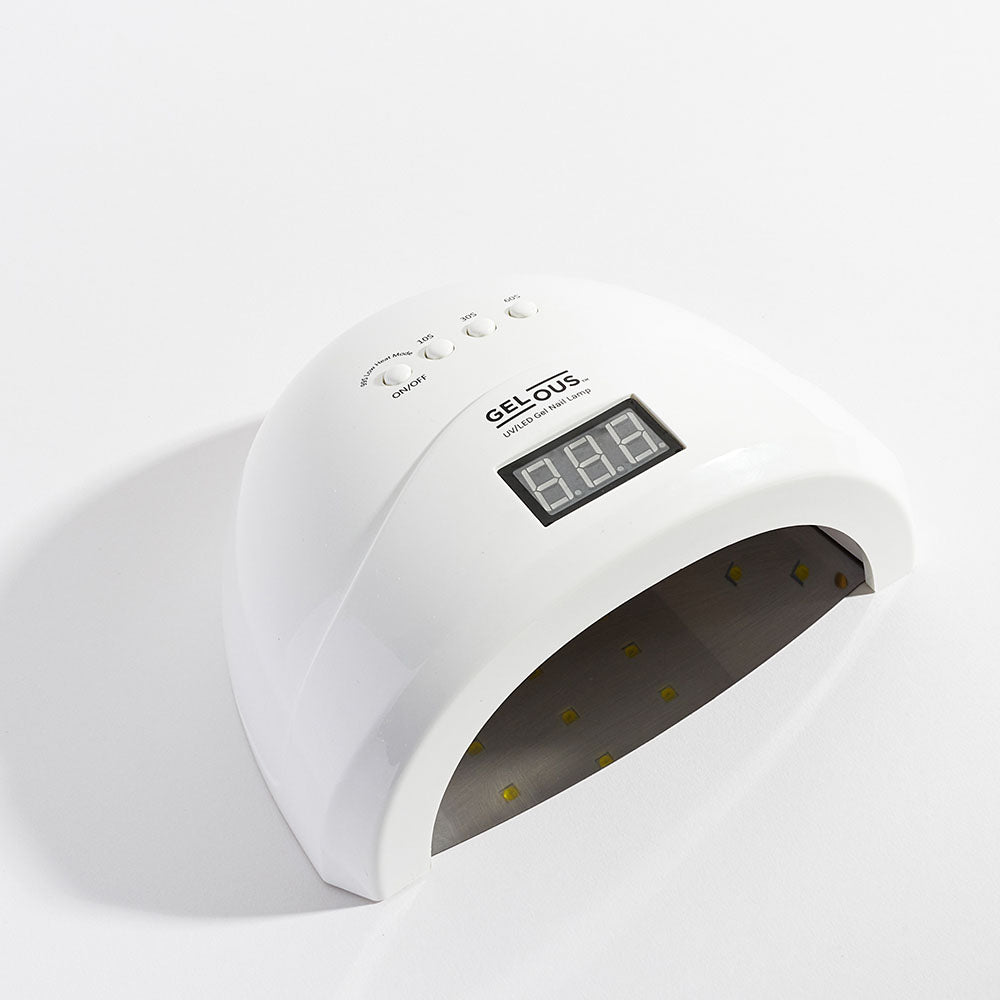
- UV/LED Gel Nail Lamp
Steps:
- Prep your nails as usual: clean, file, buff, and apply Gelous Base Coat. Cure under your Gel Nail Lamp.
- Apply one thin coat of your chosen Velvet Gel Polish but don’t cure yet.
- Hover and sweep the Strong Velvet Magnet over the polish, moving it gently around your nail to pull the magnetic pigments into that plush velvet shimmer. The closer the Magnet, the stronger the effect.
- Once you’re happy with the velvet effect, cure your nails under the Gel Nail Lamp.
- If you want a richer colour and deeper velvet effect, repeat steps 2–4 for a second coat.
- Finish with a Gelous Top Coat and cure again.
Pro Tip: Use the thicker Magnet for full coverage shimmer and the thinner one for more precision.
Looking for a video tutorial?
To recreate this look, watch our Velvet Gel Nail Polish Application Tutorial on YouTube.

Products used: Base Coat, Builder Gel, Velvet Blush, Strong Velvet Magnets, Top Coat, Gel Nail Lamp.
Velvet Gel Polish Shade Inspiration
Velvet Gel Polish comes in a range of stunning shades perfect for every mood and style. These are our current faves, but you can shop the full range here.
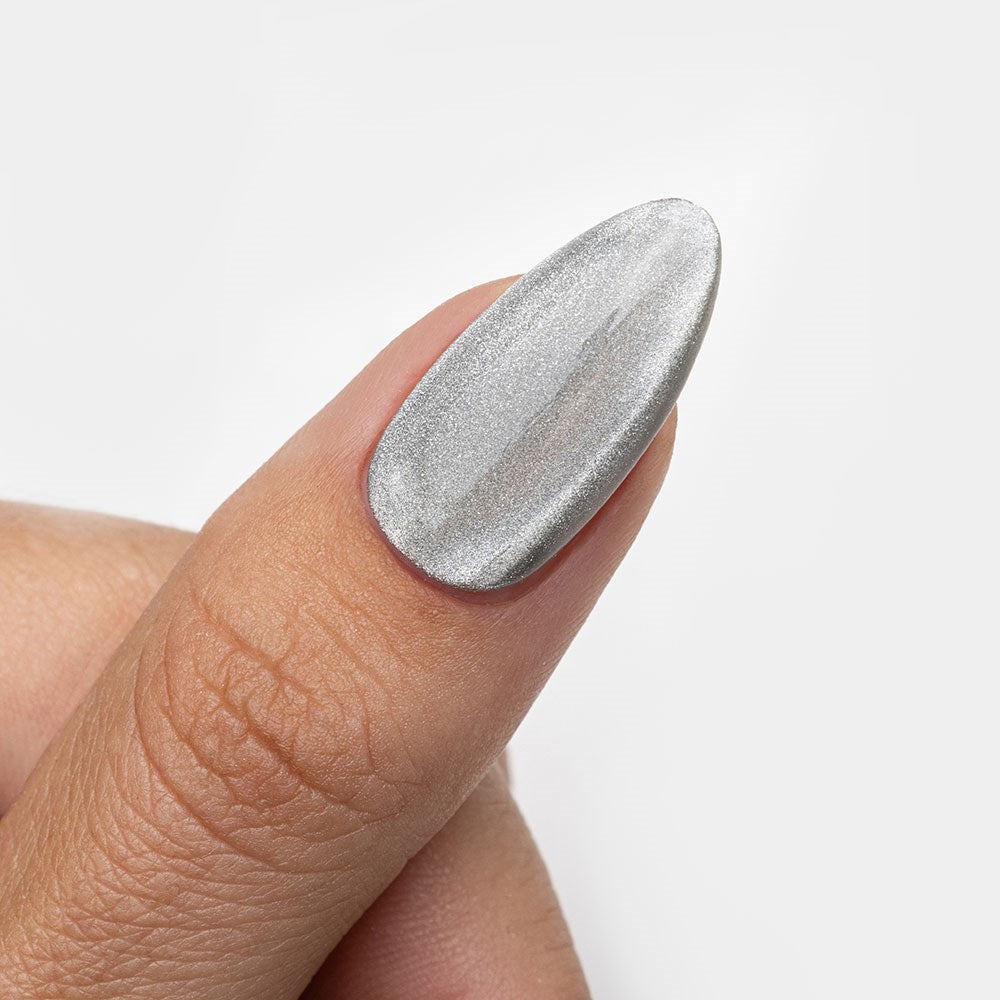
Velvet Cosmos Gel Nail Polish
Light, silver and out of this world, this shade is perfect for subtle sparkle. It also makes an incredible base for layering sheer polishes or Chrome Powders, letting the velvet effect shine through beautifully.

Velvet Elixir Gel Nail Polish
A bold fuchsia pink that demands attention.

Velvet Night Gel Nail Polish
A blue-black velvet, perfect for mysterious, moody nails.

Velvet Sky Gel Nail Polish
A chic light grey-blue velvet, sophisticated with a touch of fun.

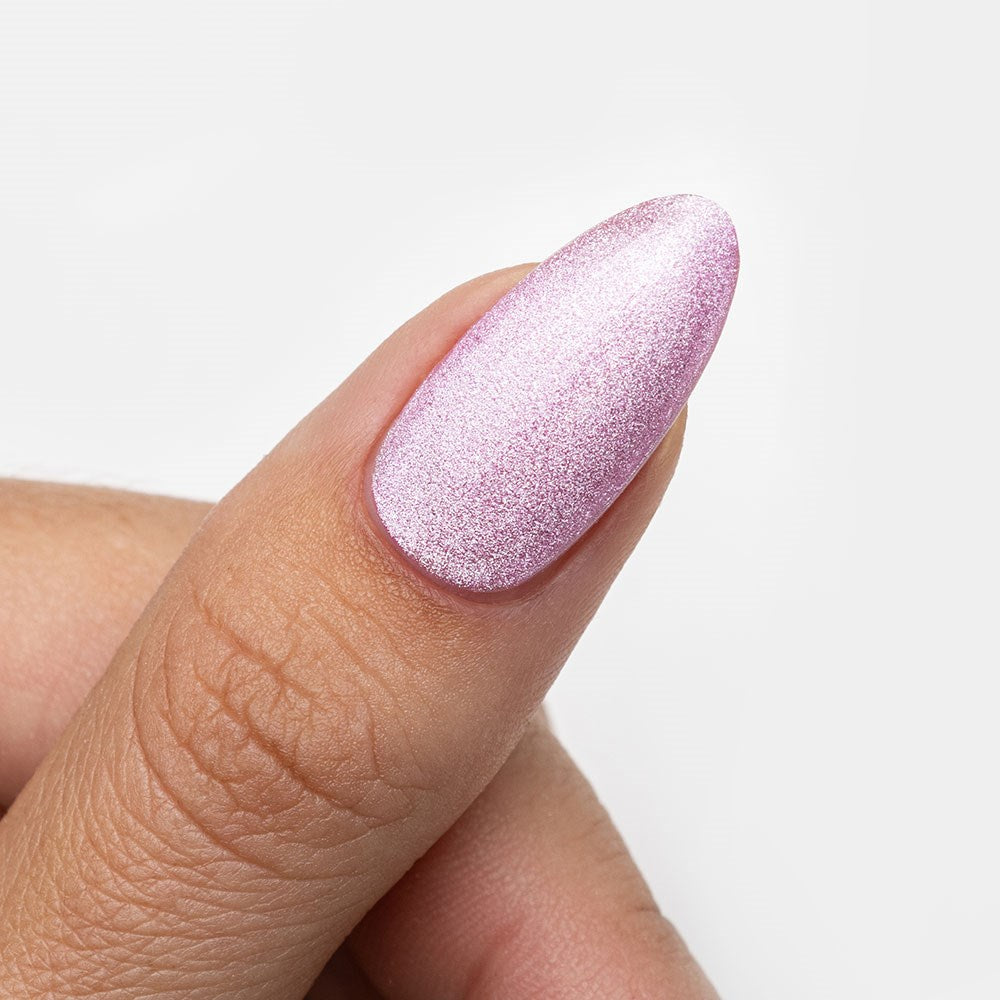
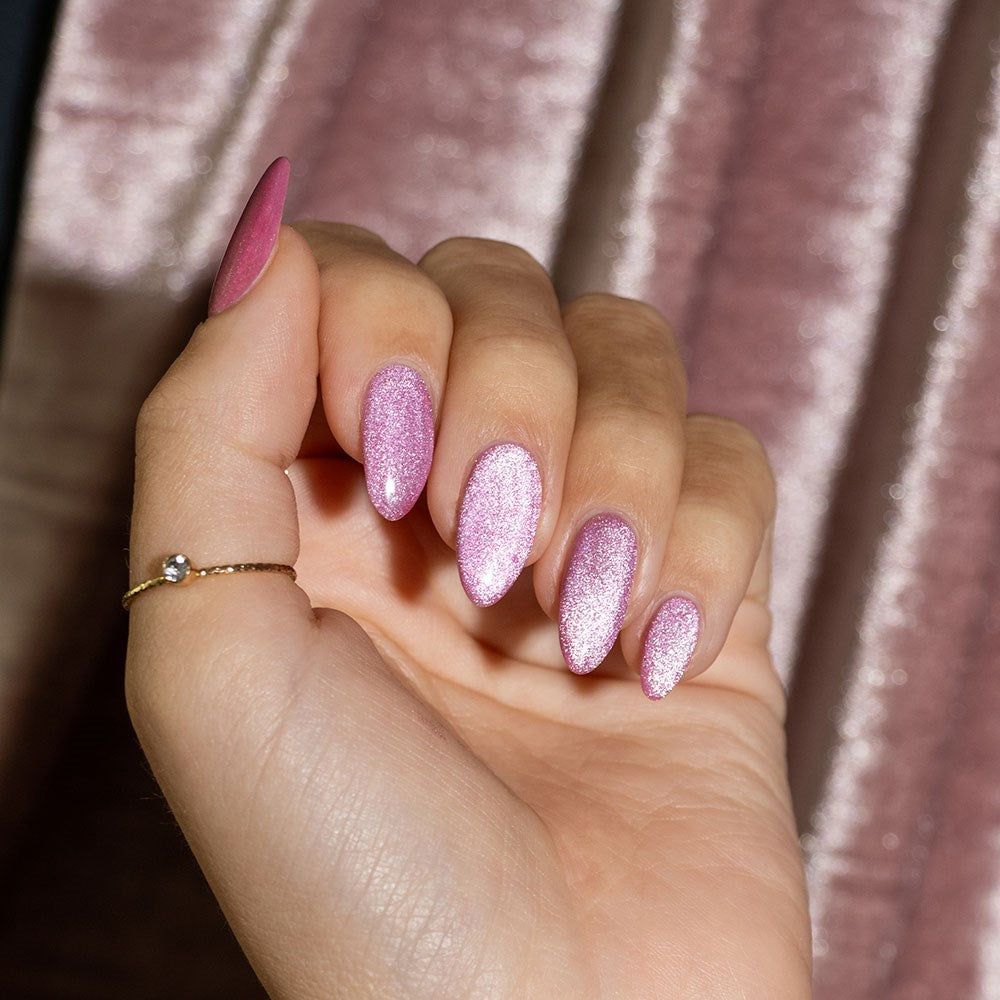
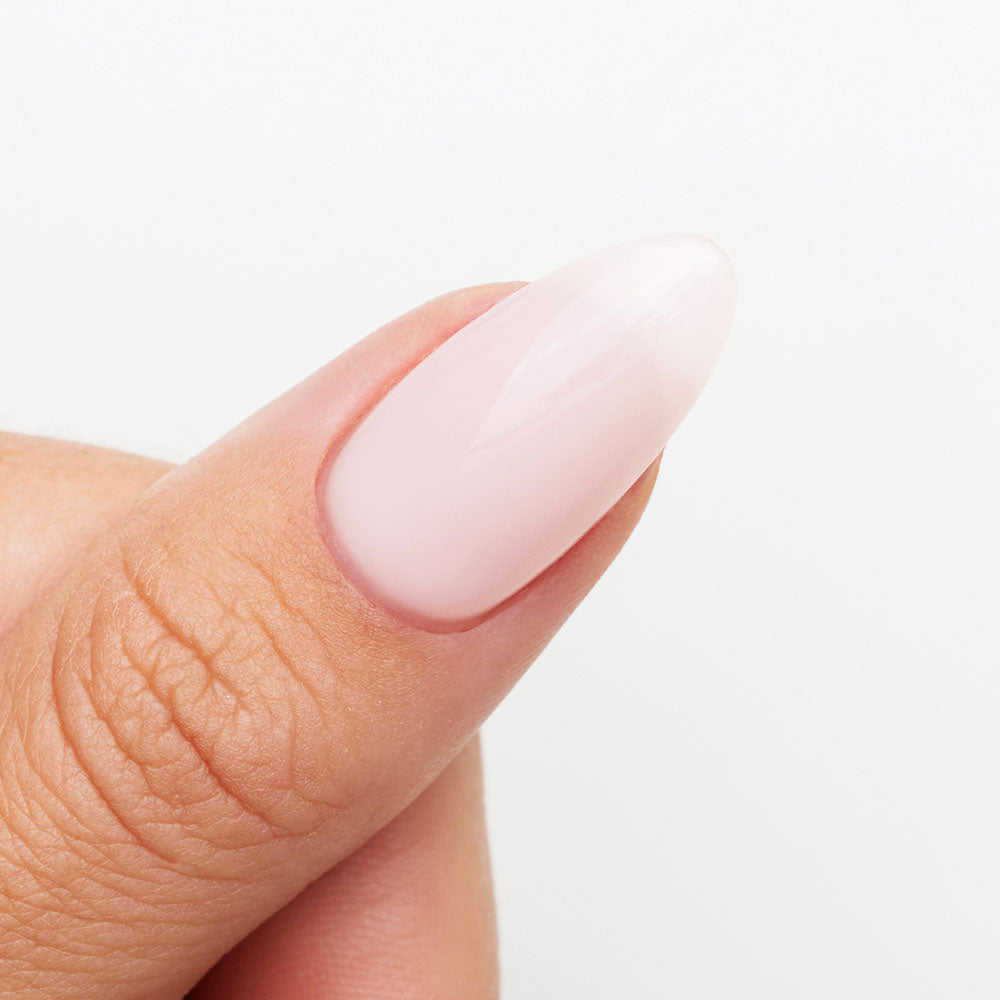
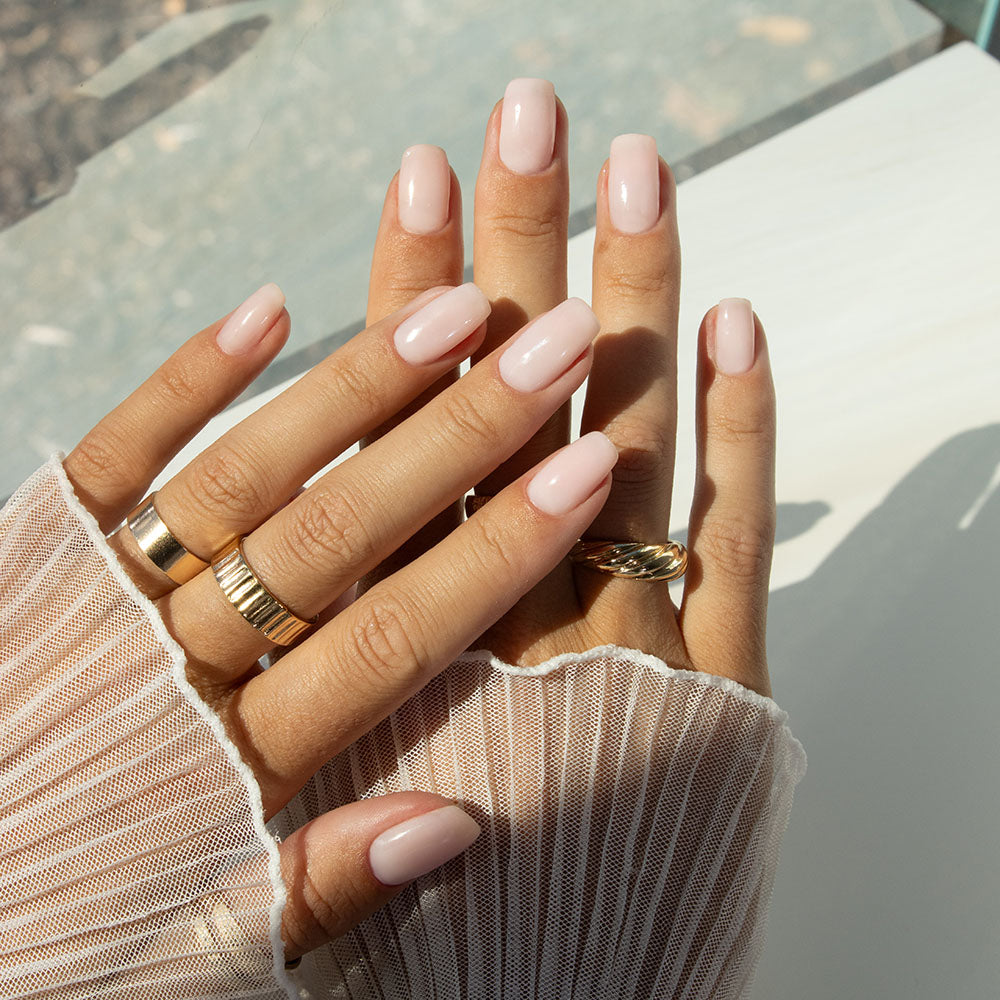
Velvet Sugar Gel Nail Polish
A dreamy, delicate soft pink with added shine.

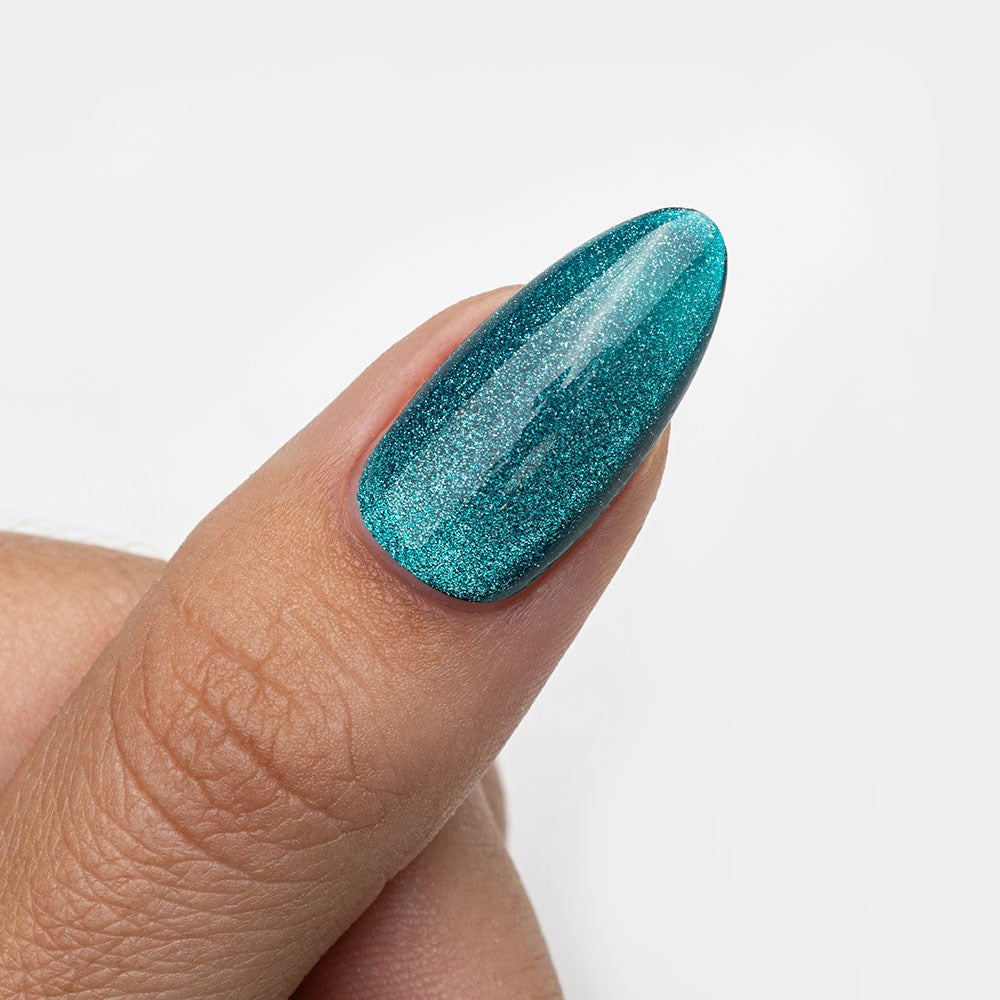
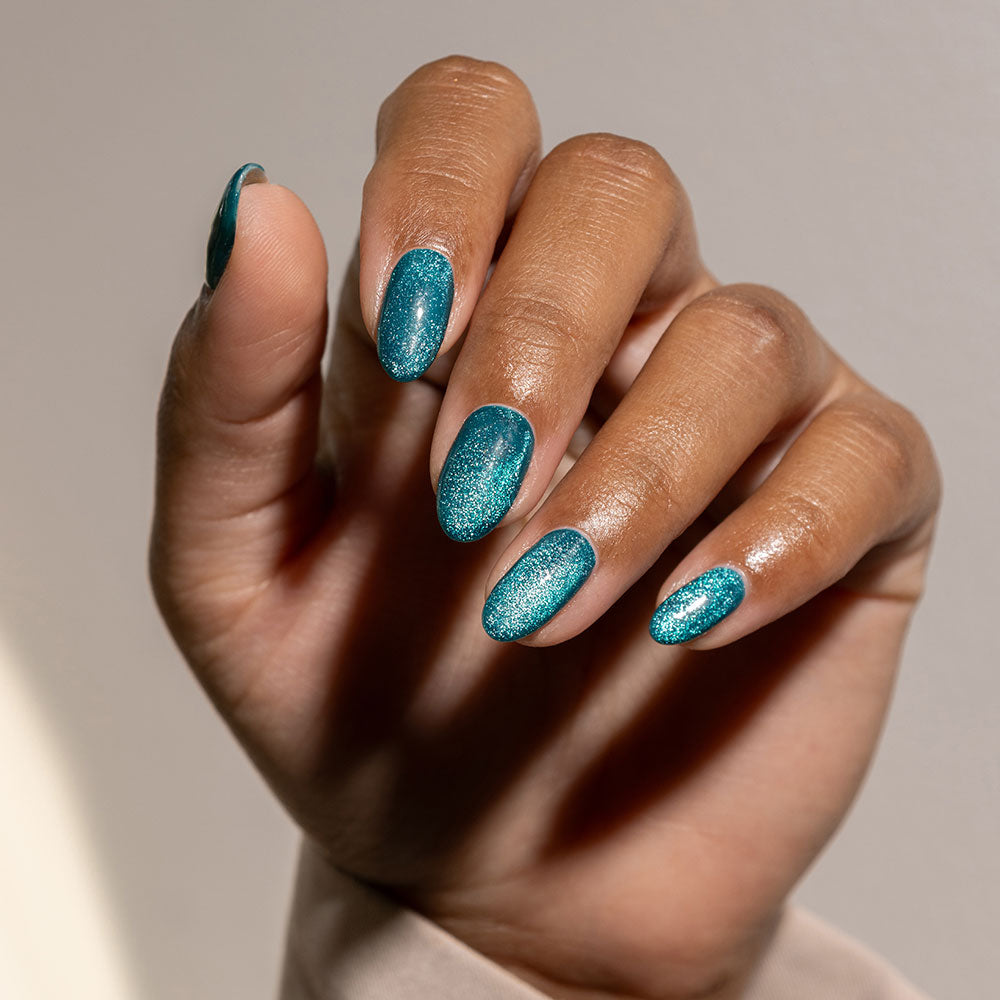
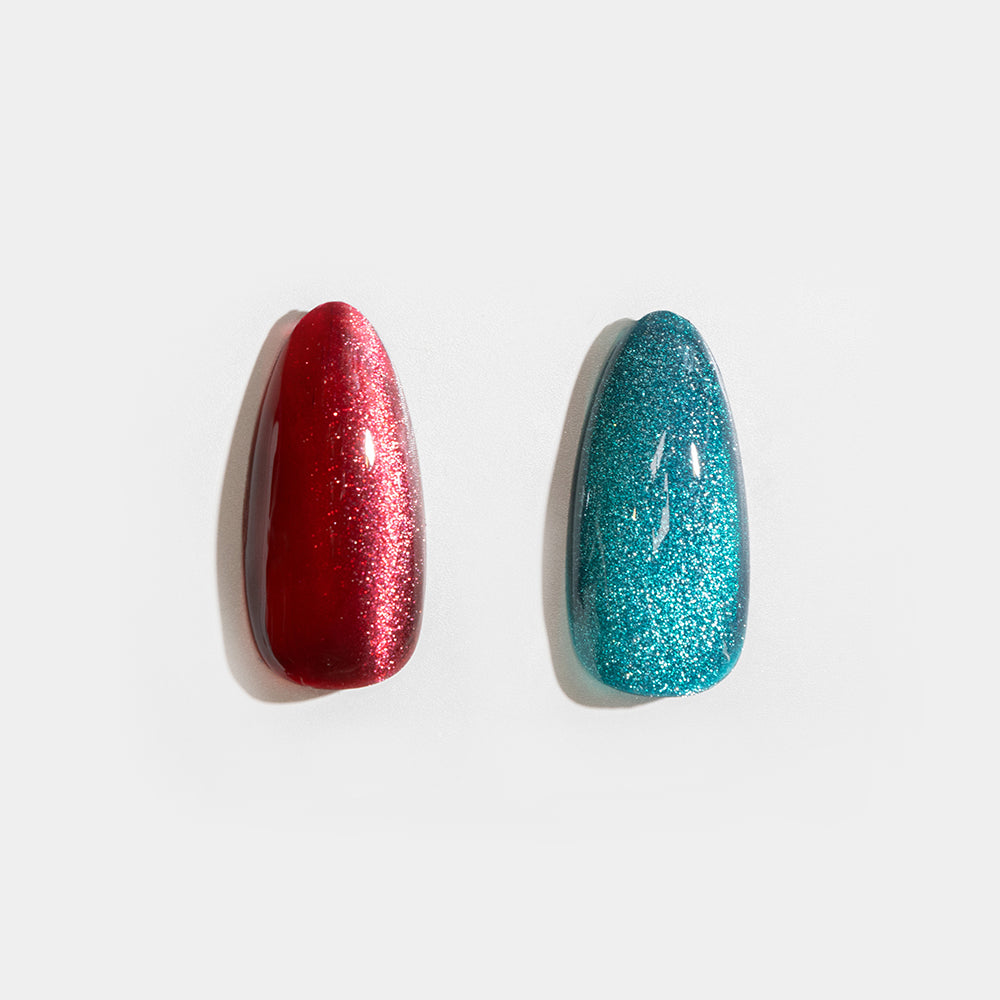
Velvet Tide Gel Nail Polish
A jewel toned deep turquoise velvet, vibrant and bold.

Velvet Haze
A subtle, feminine hazy lavender.

Nail Art Inspiration: Velvet Looks You Can Try at Home
Want something a little extra? There are heaps of fun nail art ideas to try with velvet polishes. Here are some of our current go-tos with links to tutorials and product lists to make it easy!
Reverse French Tip: Velvet Tide
A modern twist on the classic French manicure, using Velvet Tide’s deep turquoise shimmer.
How to:
- Prep your nails, then apply a thin coat of Base Coat, capping the free edge. Cure for 60 seconds.
- Apply a thin, uncured slip layer of Milky Pink Builder Gel to your nails (don’t cure this step).
- Next, place a small bead of Builder Gel on your nail and carefully spread it evenly from cuticle to tip, shaping the nail surface. Cure for 60 seconds. If the Builder Gel creates bulk at the tip, gently file your nails to shape.
- Clean your nails with a Lint Free Wipe moistened with Gel Nail Polish Remover.
- Apply Velvet Tide polish to the bottom half of your nail. Use the thicker Magnet to sweep and shift the shimmer to your liking. Cure for 30 seconds.
- Apply Velvet Tide to the tip of your nail and use the Magnet to shift the shimmer in the opposite direction for a cool contrast. Cure for 30 seconds.
- Finish with a thin layer of Top Coat, capping the free edge, and cure for 60 seconds.
- Nourish your nails and cuticles with Gelous Cuticle Oil.
Looking for a video tutorial?
To recreate this look, watch our ‘Reverse Velvet French Tip' Gel Nail Art Tutorial on YouTube.

Products used: Base Coat, Milky Pink Builder Gel, Velvet Tide, Strong Velvet Magnets, Gel Nail Polish Remover, Lint Free Wipes, Top Coat, Gel Nail Lamp, Cuticle Oil.
Butterfly Wing: Velvet Sugar + Velvet Spell
Create a stunning butterfly wing effect by blending soft pink and grape-toned purple velvets, outlined with Black Out and dotted with Whiteout for detail.
How to:
- Prep your nails, then apply Base Coat and Builder Gel as usual.
- Paint a thin coat of Velvet Sugar on the bottom half of your nail.
- Paint a thin coat of Velvet Spell on the top half of your nail.
- Using a Multi-Purpose Nail Brush, gently blend the two colours where they meet to create a seamless gradient.
- Hover the thicker Strong Velvet Magnet around the edges of your nails to lift the shimmer and activate the velvet effect. Cure for 60 seconds.
- Using Black Out and a Liner Nail Art Brush, paint a thin border around the nail and create long petal shapes towards the centre. Add curved lines and fill in gaps to form butterfly wings. Cure after painting.
- Use Whiteout and the Double-Ended Dotting Tool to add tiny spots on the thicker black outlines for detail. Cure again.
- Finish with a Top Coat, capping the free edge, and cure for 60 seconds.
Looking for a video tutorial?
To recreate this look, watch our 'Velvet Butterfly Wings' Gel Nail Art Tutorial on YouTube.

Products used: Base Coat, Builder Gel, Velvet Sugar, Velvet Spell, Multi-Purpose Nail Brush, Liner Nail Art Brush, Black Out, Whiteout, Double-Ended Dotting Tool, Strong Velvet Magnets, Top Coat, Gel Nail Lamp.
Stained Glass French Tips: Velvet Halo, Elixir, Haze, Mocha
Create colourful velvet shapes outlined in black for a funky stained glass effect.
How to:
- Prep your nails and apply a thin coat of French Kiss nude polish as your base. Cure under your Lamp.
- Using a Liner Nail Art Brush, paint a curved shape on one side of your nail with Velvet Halo. Before curing, hold the Strong Velvet Magnet near the edges of the polish to lift the shimmer. Cure for 10 seconds.
- Repeat the process with Velvet Elixir and Velvet Haze, painting smaller velvet shapes and using the Magnet to lift shimmer before curing each layer.
- Paint a curved shape on the opposite side of the nail with Velvet Mocha and lift shimmer with the Magnet. Cure.
- Outline each velvet shape and the tip of your nail with Black Out polish using a Liner Nail Art Brush. Cure after painting the outlines.
- Finish with a thin coat of Top Coat, capping the free edge, and cure for 60 seconds.
Looking for a video tutorial?
To recreate this look, watch our ‘Stained Glass French Tips with Velvet Polish' Gel Nail Art Tutorial on YouTube.

Products used: French Kiss, Liner Nail Art Brush, Velvet Halo, Strong Velvet Magnets, Velvet Elixir, Velvet Haze, Velvet Mocha, Black Out, Top Coat, Gel Nail Lamp.
Glass Cat-Eye Effect: Velvet Cosmos
A sleek, dimensional look combining Velvet Cosmos shimmer and sheer jelly polishes.
How to:
- Prep your nails and apply a thin coat of Black Out polish as your base colour. Cure under your Lamp.
- Apply a thin coat of Velvet Cosmos, but don’t cure yet.
- Hold the Strong Velvet Magnet close to your nail and gently hover it over the polish to pull the magnetic pigments to one side, creating the signature velvet shimmer effect.
- Once you’re happy with the shimmer, cure your nails.
- Apply a thin layer of a sheer jelly polish (some great options are Watermelon Jelly, Into the Blue, Blue Jelly, Cherry Gloss, or Darkest Forest) and cure again. This adds a glass-like, translucent finish that complements the velvet shimmer beautifully.
- Finish with a Top Coat and final cure for a glossy, long-lasting finish.
Looking for a video tutorial?
To recreate this look, watch our 'Glass Cat-Eye Effect' Gel Nail Art Tutorial on YouTube.

Image 1 products used: Velvet Cosmos, Blue Jelly, Black Out, Top Coat. Image 2 products used: Velvet Cosmos, Cherry Gloss, Wine and Dine, Top Coat.
Velvet French Tip: Velvet Sky
A dreamy, magnetic French tip using Velvet Sky’s light blue shimmer and precision Magnet work.
How to:
- Prep your nails and apply White Rubber Base Coat and Builder Gel as usual.
- Apply a thin coat of Velvet Sky polish, capping the free edge, but don’t cure yet.
- Hold the thinner Magnet close to your nail to pull the shimmer to the surface, then push it toward the tip.
- Hover the Magnet parallel to the tip to bring the shimmer back to the surface.
- Repeat these Magnet steps until you achieve your desired velvet French tip effect.
- Cure your nails under the Lamp for 60 seconds.
- Finish with a thin coat of Top Coat, cap the free edge, and cure again for 60 seconds.
Looking for a video tutorial?
To recreate this look, watch our ‘Velvet French Tip' Gel Nail Art Tutorial on YouTube.
Products used: White Rubber Base Coat, Builder Gel, Velvet Sky, Strong Velvet Magnets, Top Coat, Gel Nail Lamp.
Chrome Layered Over Velvet: Velvet Cosmos + Pink Lemonade Aurora Chrome Powder
The ultimate boujee nail. Add a chrome finish to Velvet Cosmos for attention-grabbing nails with extra shimmer and shine.
How to:
- Prep your nails and apply Base Coat and Builder Gel as usual.
- Apply a thin coat of Velvet Cosmos and cap the free edge.
- Hover the Strong Velvet Magnet over your nail to lift the glitter and create the velvet effect. Cure for 60 seconds.
- If needed, apply a second coat of Velvet Cosmos, repeat the Magnet step, and cure again.
- Apply a thin coat of Top Coat and cure.
- Wipe your nail with a Lint Free Wipe soaked in Gel Nail Polish Remover to prep for Chrome Powder.
- Using a Chrome Powder Application Sponge, rub the Pink Lemonade Aurora Chrome Powder onto your nail in circular motions until you achieve a smooth chrome finish.
- Dust away any excess powder with the Dust Brush.
- Seal your manicure with a final thin coat of Top Coat, capping the free edge, and cure for 60 seconds.

Products used: Base Coat, Builder Gel, Velvet Cosmos, Strong Velvet Magnets, Top Coat, Lint Free Wipes, Gel Nail Polish Remover, Pink Lemonade Aurora Chrome Powder, Chrome Powder Application Sponge, Dust Brush, Gel Nail Lamp.
Final Tips for Perfect Velvet Nails
- Always prep nails properly for the smoothest surface and best polish adhesion.
- Don’t rush the Magnet step, hover and sweep gently for the best velvet effect.
- Use the thicker Magnet for big shimmer moves and the thin Magnet for more precision.
- You can layer coats if you want richer colour and dimension, but always apply in thin coats!
- Finish with a good Top Coat to seal your look and add shine.
- Make sure you’re prepared for all the extra attention and compliments you’re bound to get!
Ready to dive into velvet nails? Check out our full Velvet Collection here and grab your Strong Velvet Magnets to start creating stunning, plush nails today.